


We C You 11: The protective style guide
How to choose + care for protective styles with PRO expert, Alifia
Ever want to just roll out of bed and look put together? Yeah, me too. Meet protective styles, the low-maintenance look you’ve been waiting for—that won’t sacrifice your self-expression. Before you call your stylist, check out my guide to understanding + caring for braids, crochet styles, and everything in between.
what are protective styles?
This is a hairstyle that’s meant to reduce tangling and breakage from manipulation, heat styling, and even reduce exposure to environmental elements like wind, humidity, and rain.
All this stresses out and damages your curls and coils—especially the fragile ends. Just like tucking your ends into a hat, protective styles protect your hair from this damage.
Does this mean it’s good for hair growth? Yes and no. While they do protect your curls and coils from the elements + mechanical damage, this doesn’t necessarily promote hair growth. If anything, the tension from improper installation, or wearing the tight styles too long can cause breakage. If you notice significant hair growth after unfurling your strands, this can be from seeing your new length all at once, instead of small changes every day.
types of protective styles
The cool thing about protective styles is there’s no one-size-fits-all look, so the possibilities are endless. If you don’t know where to start, think about how long you plan on rocking this look, and the condition of your hair. This can point you in the right direction:
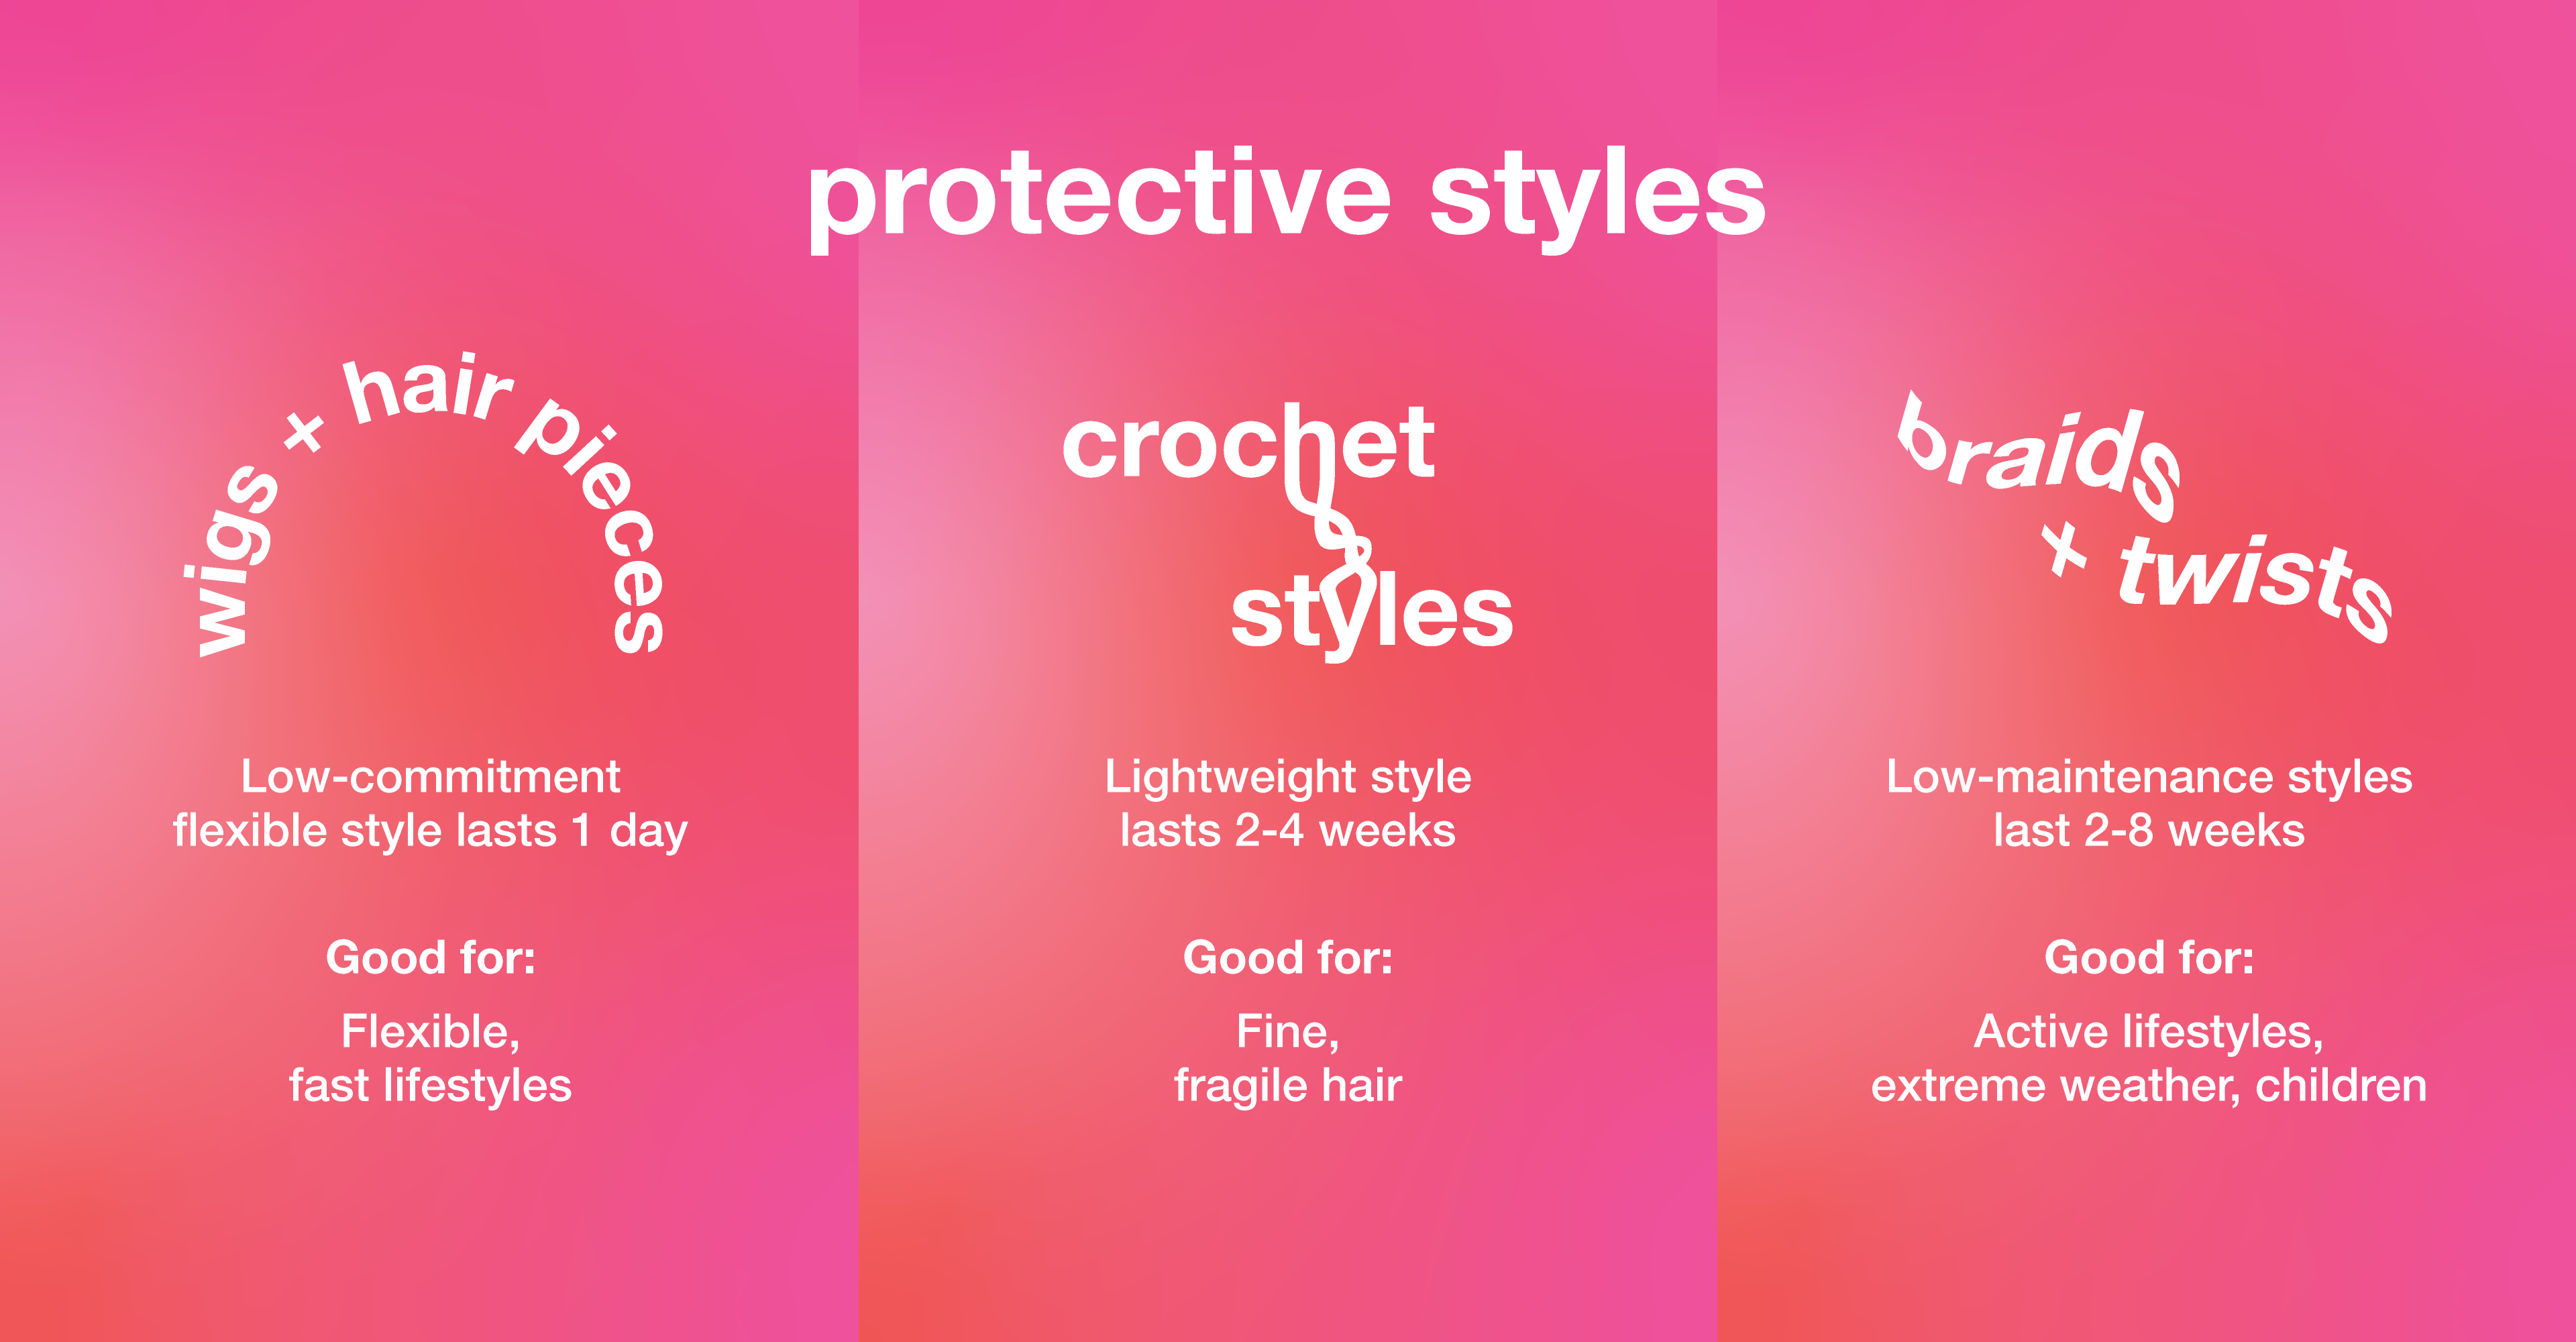
If you want to switch out your look daily, you could go for wigs + hair pieces that are removed before bed. Want a longer-lasting style? Try out braids and twists! For my clients with fine, fragile hair, I recommend crochet styles that use synthetic or human hair crocheted into the natural hair base. This gives you the look of braided styles in half the time, without adding much weight to your mane. Nice.
Now let’s talk tension. Some protective styles like braids, twists + crochet styles call for pulling at the scalp, which can lead to hair breakage, and even traction alopecia. If this raises some red flags, you can still rock this look! Just switch it out sooner than usual, and go for shorter, lightweight styles for less tension on your crown. During in-salon installations, be empowered to speak up if your stylist is pulling a little too tightly or adding more hair than you’d like. Everyone’s pain tolerance is different, and we stylists want you to have a confidence-boosting experience in, and out of the salon.
the prep step
Now that you know what kinds of protective styles are out there, here’s how to properly prep your strands. Tackling buildup is a must, as it weighs down your curls + coils for rough, damaged and frizzy hair. Use the K18 detox shampoo to gently but effectively remove 99% product buildup, 95% sebum + 76% copper* with just one wash. This pH-optimized formula resets your hair’s texture and bounce without tangling or stripping your color or moisture levels. If you still notice that sticky feeling, ask your stylist for a demineralizing/chelating treatment in the salon to remove stubborn metal + mineral buildup.
To mitigate breakage with tight hairstyles, K18’s leave-in molecular repair hair mask is key. This highly concentrated formula repairs broken keratin chains in the inner-most layers of your hair in just 4 minutes. That means renewed core strength and elasticity for stronger, healthier curls + coils and easier installation for your stylist.
the wash routine
After rocking your style for a bit, it’ll be time for wash day. You’ve probably been told not to shampoo often to avoid frizz and dryness. In reality, cleansing can remove buildup blocking hydration and products from penetrating your curls + coils. To tackle frizz, go for K18’s DAMAGE SHIELD pH protective shampoo. Engineered with your hair’s optimal pH in mind, this gentle microbiome-friendly formula minimizes cuticle swelling for reduced frizz + maintained health and shine.
When you’re ready to get clean, here’s the routine:
- Segment your hair into 4 quadrants.
- Rub a quarter size of shampoo with water until it lathers.
- Massage just your scalp section by section.
- Thoroughly rinse, and let the suds run down the length of your hair.
- Repeat if your hair still has buildup.
- Plop or target dry with a moisture-wicking towel for fast drying without damage.
With your freshly washed strands, be sure to let them dry fully before sleeping or styling. Wet hair runs the risk of developing dandruff, fungus, or even mildew, especially near the scalp—and we don’t want that.
post-protective style
When you’re ready to take out your protective style, this is when you’ll clarify, repair, and rest your hair. But first, be sure to detangle pre-shampoo to prevent tangling or matting.
Chances are, there’s buildup from oils, sebum, products, and minerals + metals hidden in your curls and coils. Cleanse with the detox shampoo to remove residue in those hard-to-reach areas, clearing the path for hydration and molecular repair. Going in with the treatment after delivers maximum damage repair for strong, bouncy hair that lasts past your next wash.
Self-expression is so exciting, so you may be tempted to try out a new protective style right away. To protect your hair health and strength, I recommend waiting 1-2 days after natural styles, and at least 3-7 days post-sew-ins or braids before getting your extensions redone. After that, you do you.
x Alifia, Curly-Coily Expert + K18 Educator
Check back for more curly-coily chats, we’re going all the way.
*results observed on bleached hair tress after 1 wash with detox shampoo