


The definitive guide to drying your hair
Tips, tricks, and common misconceptions
When it comes to drying hair, there are a lot of misconceptions that can lead to unnecessary damage. One of the most common is the idea that hair needs to be vigorously squeezed or completely dried, when in reality less is often more when it comes to handling your hair while it's wet. In fact, the key to a healthy drying process actually starts in the shower.
Here, K18’s Director of Education Development, Amber Thorne debunks more myths and shares a step-by-step guide for drying hair the right way. Read it, save it, and commit it to memory–and your hair will thank you forever.
Step 1: Detangle while wet
The first step in preventing damage during the drying process begins long before you even pick up a towel or blow dryer. “Detangling your hair in the shower, while using conditioner, is crucial,” says Thorne. “Why? Because it reduces the amount of mechanical agitation required once you step out of the shower–and the less you manipulate wet hair, the better.”
Thorne likes a wide shower comb best for the job. “Use one to gently detangle your hair while it's still wet, ensuring the strands are smooth and flat. This makes the drying process easier and reduces the likelihood of breakage or frizz later on.”
Step 2: Squeeze, don't scrunch
When it comes to getting the excess moisture out of your hair, Thorne’s preferred technique is to squeeze—not scrunch: “After detangling, gently squeeze out the moisture with your hands instead of twisting, scrunching, or crunching your hair into a towel, working from the crown down to the ends” she says. This simple step helps reduce friction and prevents unnecessary stress on strands.
Step 3: Choose the right towel
The type of towel you use can make a huge difference in how your hair dries. For example, many traditional towels are rough, which can cause friction that leads to frizz and breakage. Thorne recommends opting for a specialized towel, such as an Aquis towel, which is designed for wet hair. “These towels are gentler and help reduce the time your hair is exposed to moisture, which ultimately shortens drying time–which is a good thing,” she says.
When using your towel, focus on evenly squeezing the moisture out, again from the crown to the ends, and avoid twisting or rubbing, as this can create tangles or rough up the cuticle, leading to more damage.
Step 4: Let it air dry a little bit
This next step is an extra important one that’s often overlooked–and it’s this: before reaching for your blow dryer, give your hair some time to air dry.
“Moisture tends to release from damaged areas of the hair first,” explains Thorne, “so by letting your hair air dry a bit, you can focus your heat on healthier sections (like the roots or mid-lengths) and finish with the ends, which are typically more fragile. This strategy also allows you to minimize the time heat is applied to already weakened areas of your hair.”
Step 5: Protect, protect, protect
Once your hair is prepped and you're ready to dry it, don't forget to protect it from heat.
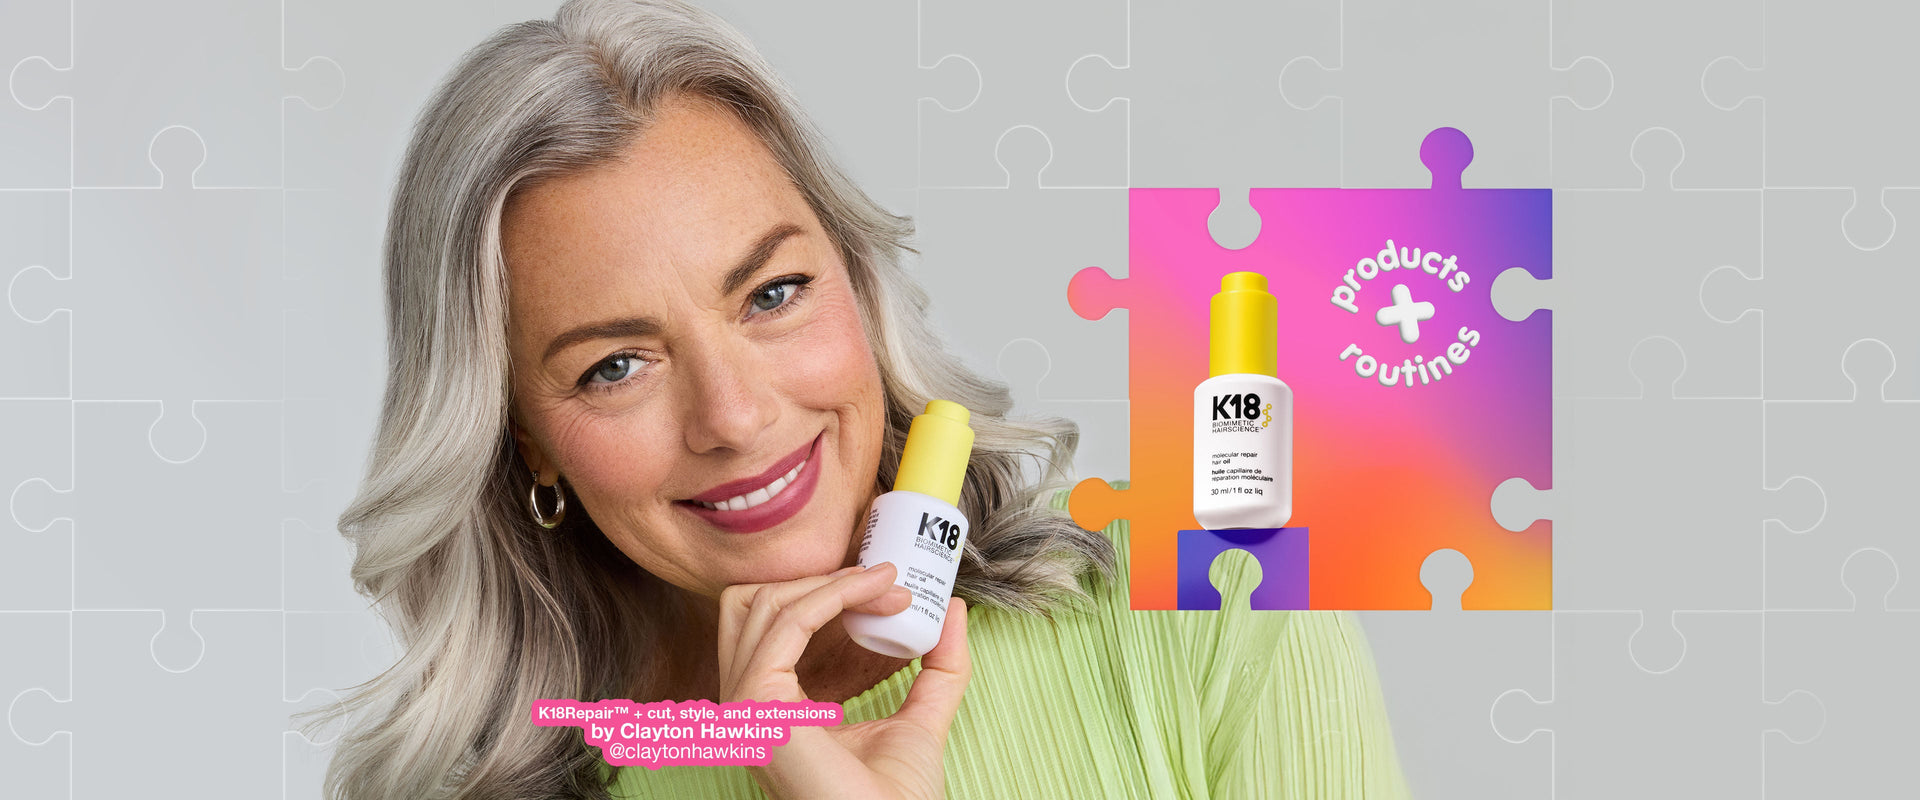
“Just like you wouldn't stick your hand in a 450°oven, you shouldn’t expose your hair to high heat without protection,” says Thorne. Her pick: K18’s molecular repair oil, which she likes to apply from the roots to the tips, paying extra attention to areas where you plan to apply the most heat, like around the face.
Step 6: Get the right tool
“The blow dryer is often underestimated when it comes to hair damage,” says Thorne. “While flat irons and curling irons are known for their high heat, blow dryers can reach similarly high temperatures. Plus, they stay on your hair much longer and are often positioned closer to the face, which can challenge hair integrity in areas that are already stressed.”
To minimize this risk, consider the temperature setting on your blow dryer. “Keep it on a lower heat setting, always blow down the hair shaft, and use a gentle brush that works best for your hair type.”
Step 7: Work from back to front
Here's a professional tip: Start drying your hair from the back and work your way forward.
“In salons, stylists often begin blow-drying at the front of the head so you can see the color or cut, but at home it’s best to start at the back of the head to avoid over-stressing the front sections, which tend to be weaker,” says Thorne. “By the time you reach the front, it will be almost dry, which allows you to focus on using the blow dryer as more of a styling tool without overexposing the area to excess heat.”